
Plant how-to: DIY plant trellis
Ya'll, I am so excited to do my first tutorial! I love teaching people how to do things, so hopefully the instructions come across clearly. I will say that I didn't have a ton of time to take super fancy photos and do cool graphics, but I still feel like this is a good first tutorial and they can only get better from here. That said, A LOT of you on Instagram expressed interested in a DIY trellis tutorial. It's so quick and easy and will save you money; let's be honest, the plant hobby can be kind of expensive at times, so any way to pinch pennies is okay by me.
This tutorial is very customizable as well. I simply used what I had on hand to make the trellis, but you can get very resourceful and use all sorts of things to make it. Here's what you need:

1. Bamboo skewers - These are less than 12" long, and will do best in a smaller pots up to 6" in diameter. I used 3 vertically and cut 1 in half to use horizontally. Here's where you can customize length, material, etc. You can use bamboo poles from a gardening center, wooden dowels from a craft store, even sticks from your own front yard. Whatever you want to use, go for it! Just make sure the length is long enough to accommodate your plant's vines and the right size for the pot.
2. Twine - I used jute cord because I like the "natural" look, but again you can use anything you have on hand as long as it's STURDY. Hemp, cotton, or even a heavy gauge wire will work. Cut 6 pieces long enough; for me, around 2-3" long was perfect.
3. Scissors
4. Soft-tie or other plant ties - used to secure the plant to the trellis.
5. Plant of your choice - obviously trellises work best with vining/trailing plants. Hoyas, ivies, pothos, and heart leaf philodendron all work wonderfully.

STEP 1: Lay your bamboo skewers (or whatever material you're using) out in a fan shape, with 3 vertically and 2 smaller ones horizontally. Make sure they're evenly spaced!

STEP 2. Take a piece of twine and carefully tie it around each point where the vertical and horizontal skewers meet. I wrapped the twine around twice and then knotted it tightly. You may also want to trim any excess "tails" once you're finished tying. I like to leave just enough wiggle room so that I can still move the skewers and reposition them if I need to.
Once you're finished, it should look something like the photo to the right. Again, I stress that this is really customizable and if you use larger dowels/sticks, you will probably need to add a few more across and down to make sure the trellis is strong.

STEP 3: Place the bottom of the trellis in the soil mix. It should be inserted deeply enough that it's not flimsy. I chose my Hoya carnosa 'Krimson Queen' for this project!
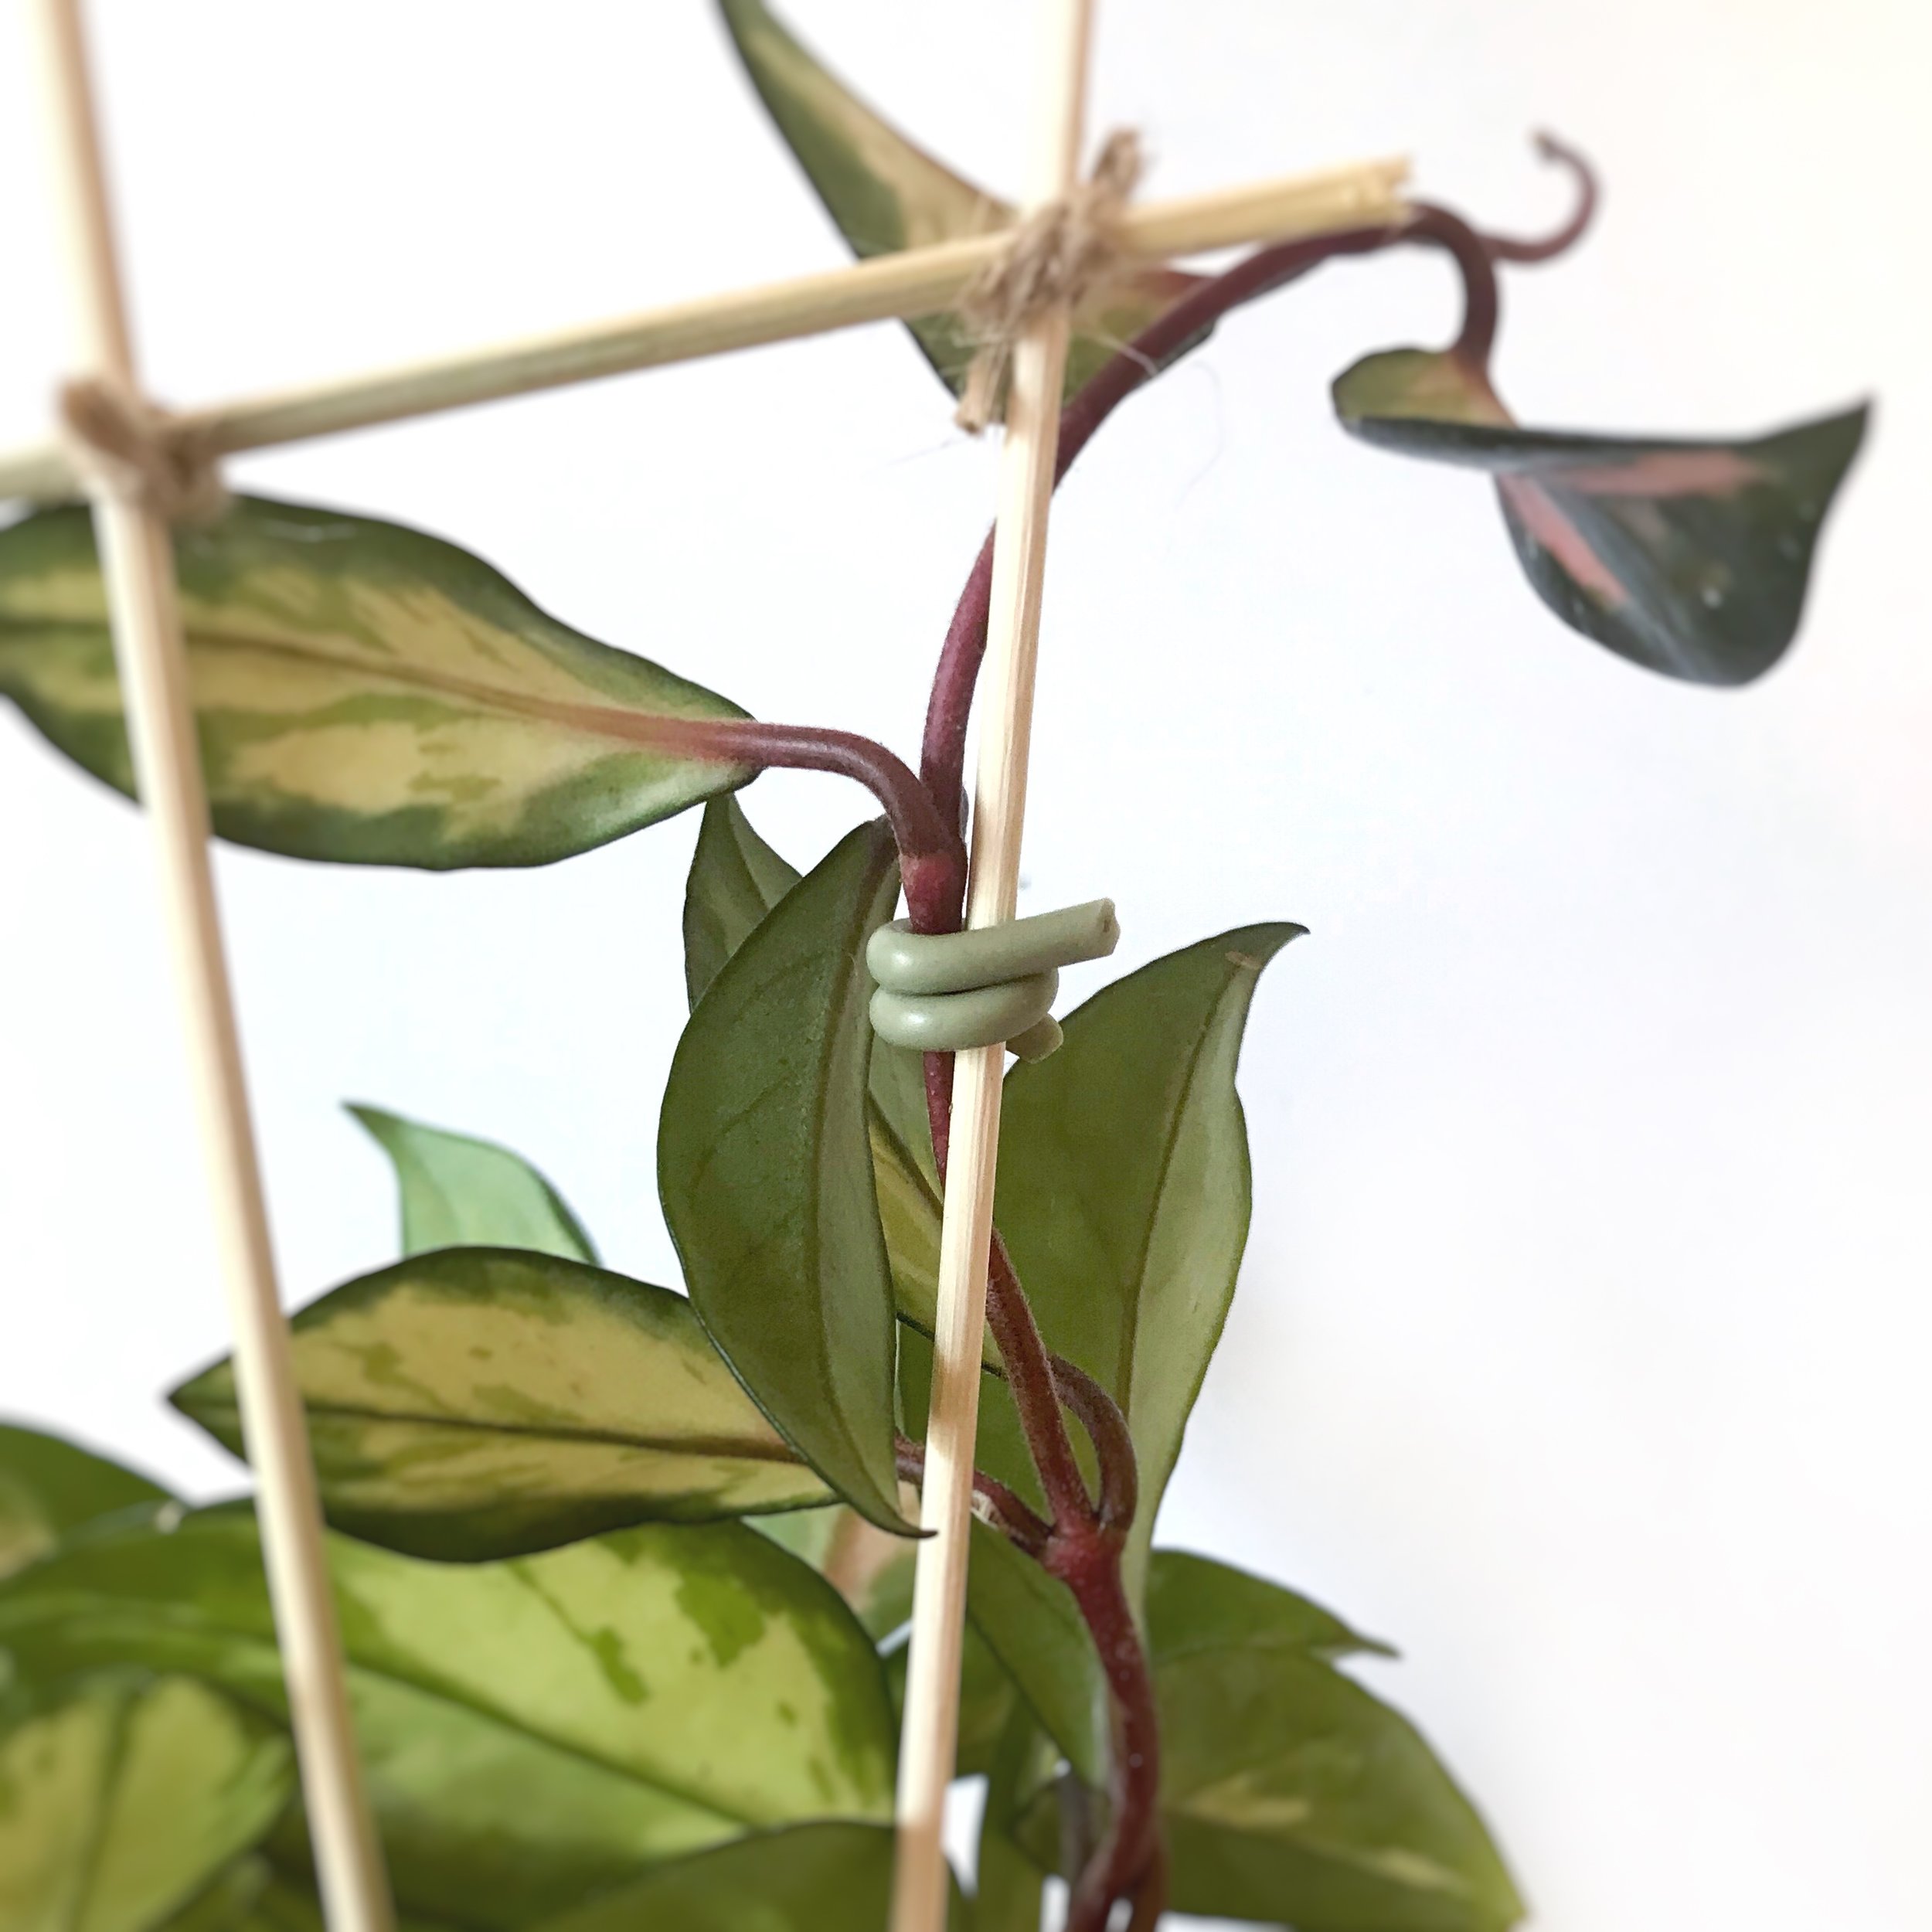
STEP 4: Secure the stems gently to the skewers. You can tie as many stems as you want to the trellis. I chose to tie up a few and leave some smaller vines hanging in the front. Tying up the stems will train the plant to keep growing upwards!

STEP 5: Voilà! You are all done. With a few materials and simple steps, you've made your very own trellis! Now step back and admire your handy work. :)
I hope this was clear enough! Please let me know if you have any questions in the comments, or shoot me an email: stamenandstem@gmail.com!